SO for today's tutorial we have something a bit different. i used the SCS sketch from last week but instead of a card i made a recipe for a swap i am in over on the MB for Paper Patch Crafts. so here's the sketch:
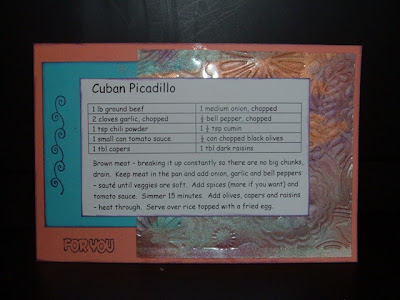
And here's the recipe card I made:
Today's tutorial is for the background piece.
Run your acetate through the xyron and cover the back completely with adhesive. Lay it down adhesive side up and add perfect pearls randomly over the entire area so the adhesive is completley covered.


Carefully peel the cardstock off and glue pearl side down. this can be difficult to glue because of the powder. i use glossy accents and put it under a heavy book so it dries flat.
To finish the card above i used dusty concord distress ink and studio g stamps.
stay tuned for more - next product up will be alcohol inks!!! still waiting on missing stamp packages and then the last of the studio G orders will be going out!
hugs!
Marti!!!


Great Recipe Card Marti!!! I LOVE IT!
ReplyDeleteI swear I'm trying to make a comeback, but nothing seems to be working tonight! LOL...
ReplyDeleteI tried this out, but my xyron, hand swipey thing doesn't seem to be working as well...but I'll try to pretty it up tomorrow to post!
AWESOME colour choices though, they look so good together!